Salesforce Marketing Cloud (SFMC) is an all-in-one multi-purpose platform to help businesses create and manage multi-channel marketing campaigns from a single place. It provides marketers with various features to target customers via channels like Email, SMS, social media etc. As the number of channels to target is numerous, it means that data from various sources is getting ingested into SFMC. And since data is coming from various sources, there will be a need to manage their data. The data is managed inside Salesforce Marketing Cloud in the feature called Contact Builder.
Contact Builder acts as the nerve system of SFMC. It allows marketers to connect customers & their related data from multiple source systems and build a single view of the customer. It provides an intuitive drag & drop interface to manage complex data relationships. This essentially helps in building a Customer 360 or a comprehensive view of customers.
In this article, we will explore Contact Builder and its features, especially the data designer feature.
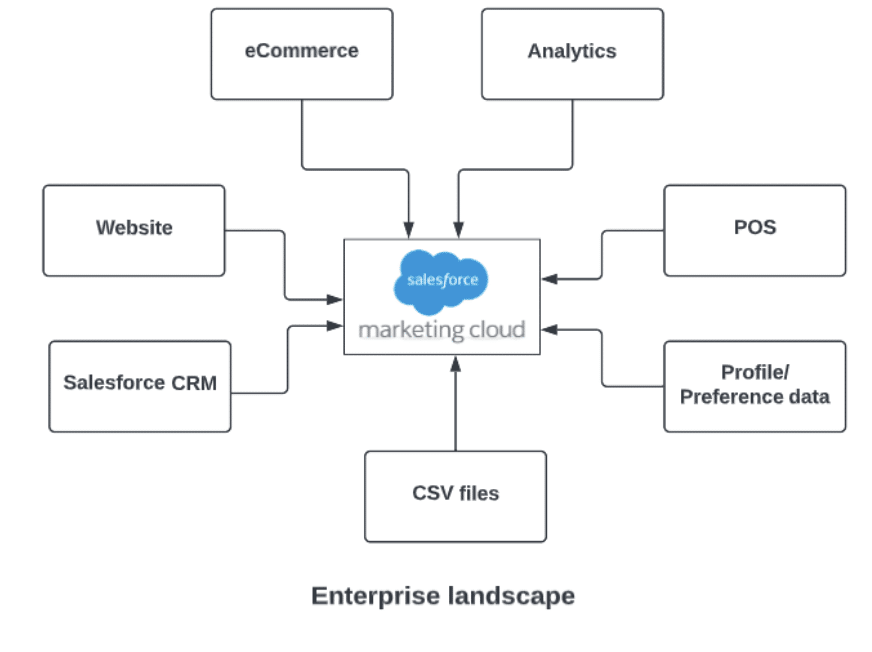
The below diagram showcases the various sources of data that can be coming to the into Salesforce Marketing Cloud in an enterprise landscape.

Let’s take a closer look at all the features of Contact Builder:
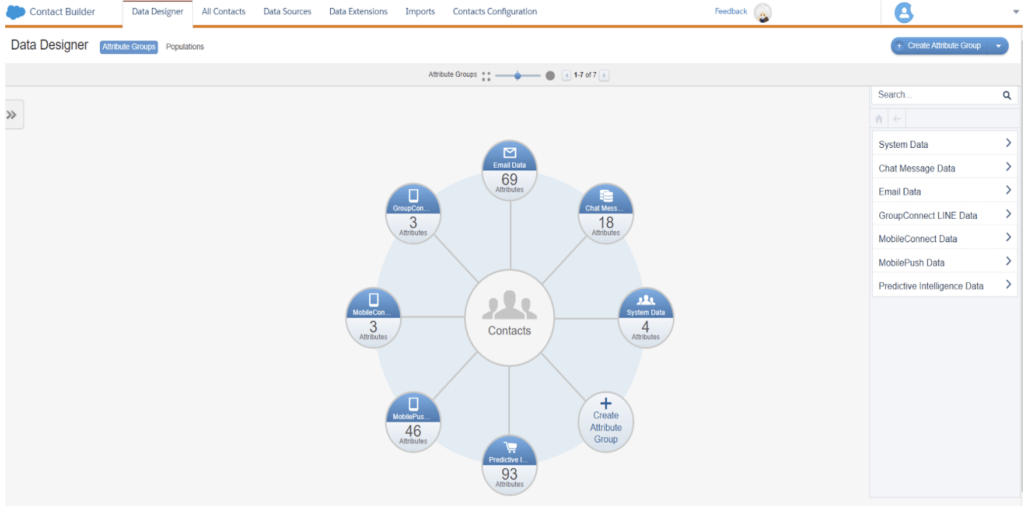
Data Designer: It is a visually rich tool that allows marketers to design their data model, which includes the relevant data sources, data extensions, and relationships between them.
All Contacts: This tab provides marketers with a comprehensive view of all the contacts within SFMC. This also provides the engagement that the contact had with the various channels in SFMC.
Data Sources: Data Sources show two types of external sources in SFMC. One is Synchronized data sources which handle the data coming into Salesforce Marketing Cloud from various Salesforce clouds like Sales and Service clouds. Another one is Custom data sources which are dedicated to external databases i.e. non salesforce. I.e. ERPs and web apps. See the above diagram.
Data Extensions: Data Extensions are custom tables in Salesforce Marketing Cloud which contain data related to contacts. This data can be email, mobile, social media, and web interactions.
Imports: This tab helps to import the external data into Salesforce Marketing Cloud by creating reusables import definitions. Data can be imported into Data extensions or Lists.
Contacts Analytics: Contacts Analytics tab helps with the systems setting related to Contact mapping. It is mainly used to enable/disable the Contact deletion process and update its frequency.

Above is the screenshot of the Contact builder landing page with all the tabs on top. We will dwell deeper in the Data designer tab with an example.
Now let’s take an example to model the data capabilities of the Content builder’s Data designer. We have two data sources i.e. Student data coming from Salesforce CRM and another source is the fee information of the student. Student information will be coming from the SAP system. Below are the table & its attributes.
Student table
| Name | Student Id | Mobile no. | Age | Gender | Home city | |
| John | [email protected] | EA-12548 | 1234567890 | 13 | Male | Dever |
| Gemma | [email protected] | EA-12437 | 2345678901 | 11 | Female | Miami |
Fees table
| StudentId | FeeId | TransactionId | TransactionDate | DeviceId | Amount |
| EA-12548 | FID34671256321 | TID23563257 | 02/11/2021 | sdf35465hgdvf | 5000 |
| EA-12437 | FID2357893124 | TID23573234 | 04/02/2021 | er234fsdsd45jk | 8000 |
In this example, the relationship between the Student table and the Fees table is one-to-many. Since one student can make multiple fees payment during his/her student life. To depict this Cardinality or relationship between the tables, let’s create an Entity-relationship diagram (ERD) as shown below:
ERD Diagram for Student and Fees is shown below.

The above ER diagram showcases the relationship between the tables. Few points to note:
-The student table is connected to the Fees table using a foreign key relationship.
-Student Id is the FK in both the tables
-The student table is connected with the Fees table via one-to-many relationships. Since a student can make multiple payments during their lifetime.
Let’s configure this data model in the Data Designer within SFMC. Below are the steps used to configure the data model.
- Create two data extensions: one for the Student table and one for the Fees table. This can be created by going to Contact Builder –> Data Extensions.
- Create Data sources for Students via Content Builder –> Data Sources –> Custom → Create a data source.
- Create an attribute group to relate the above two Data extensions i.e. Student, Fees. Goto Contact builder –> Data designer –> Create Attribute Group → Choose a name, and icon
- In the Attribute group –> Link Data extension –> Select the Student data extension. Select the Contact Key from the Contacts & relate it to the Student Id in the Student data extension.
- Create the relationship link as One-to-One between the Contacts and Student data extension
- Add Relationship –> Choose Fees data extension and its primary key Student Id.
- Create the relationship link as One-to-many between the Student and Fees data extension.
The above steps will help you to create an Attribute group within Data designer in Contact Builder.
Contact builder can be used primarily for data modelling. In this article, we discussed the Contact Builder features and their use case. We also discussed real-life Student-Fees use cases and implemented them in the diagrammatic form and then went through the steps to implement the same in Data designer.


thanks