In our last post we learn about Introduction about Heroku from the scratch. In this post we will learn about how to Integrate Salesforce with Heroku and deploy app on Heroku platform. Join us to learn about Salesforce and Heroku Integration.
Deploy Code on Heroku account
Let’s quickly deploy an Node JS app on the Heroku platform and see how it works!
Before we get started, if you don’t have a Heroku account please go ahead and create one! In our case we will deploy the sample NodeJs app from GIT, head over to the repository and click on the “Deploy to Heroku” button.

Create Heroku app
This will navigate you to the Heroku app creation page. Enter a name for the app, let the region be default as “United States” and then click on deploy app.

Add-ons
Once the app creation is complete you will be navigated to the Heroku Dashboard. Click on the “Resources” tab on the dashboard.

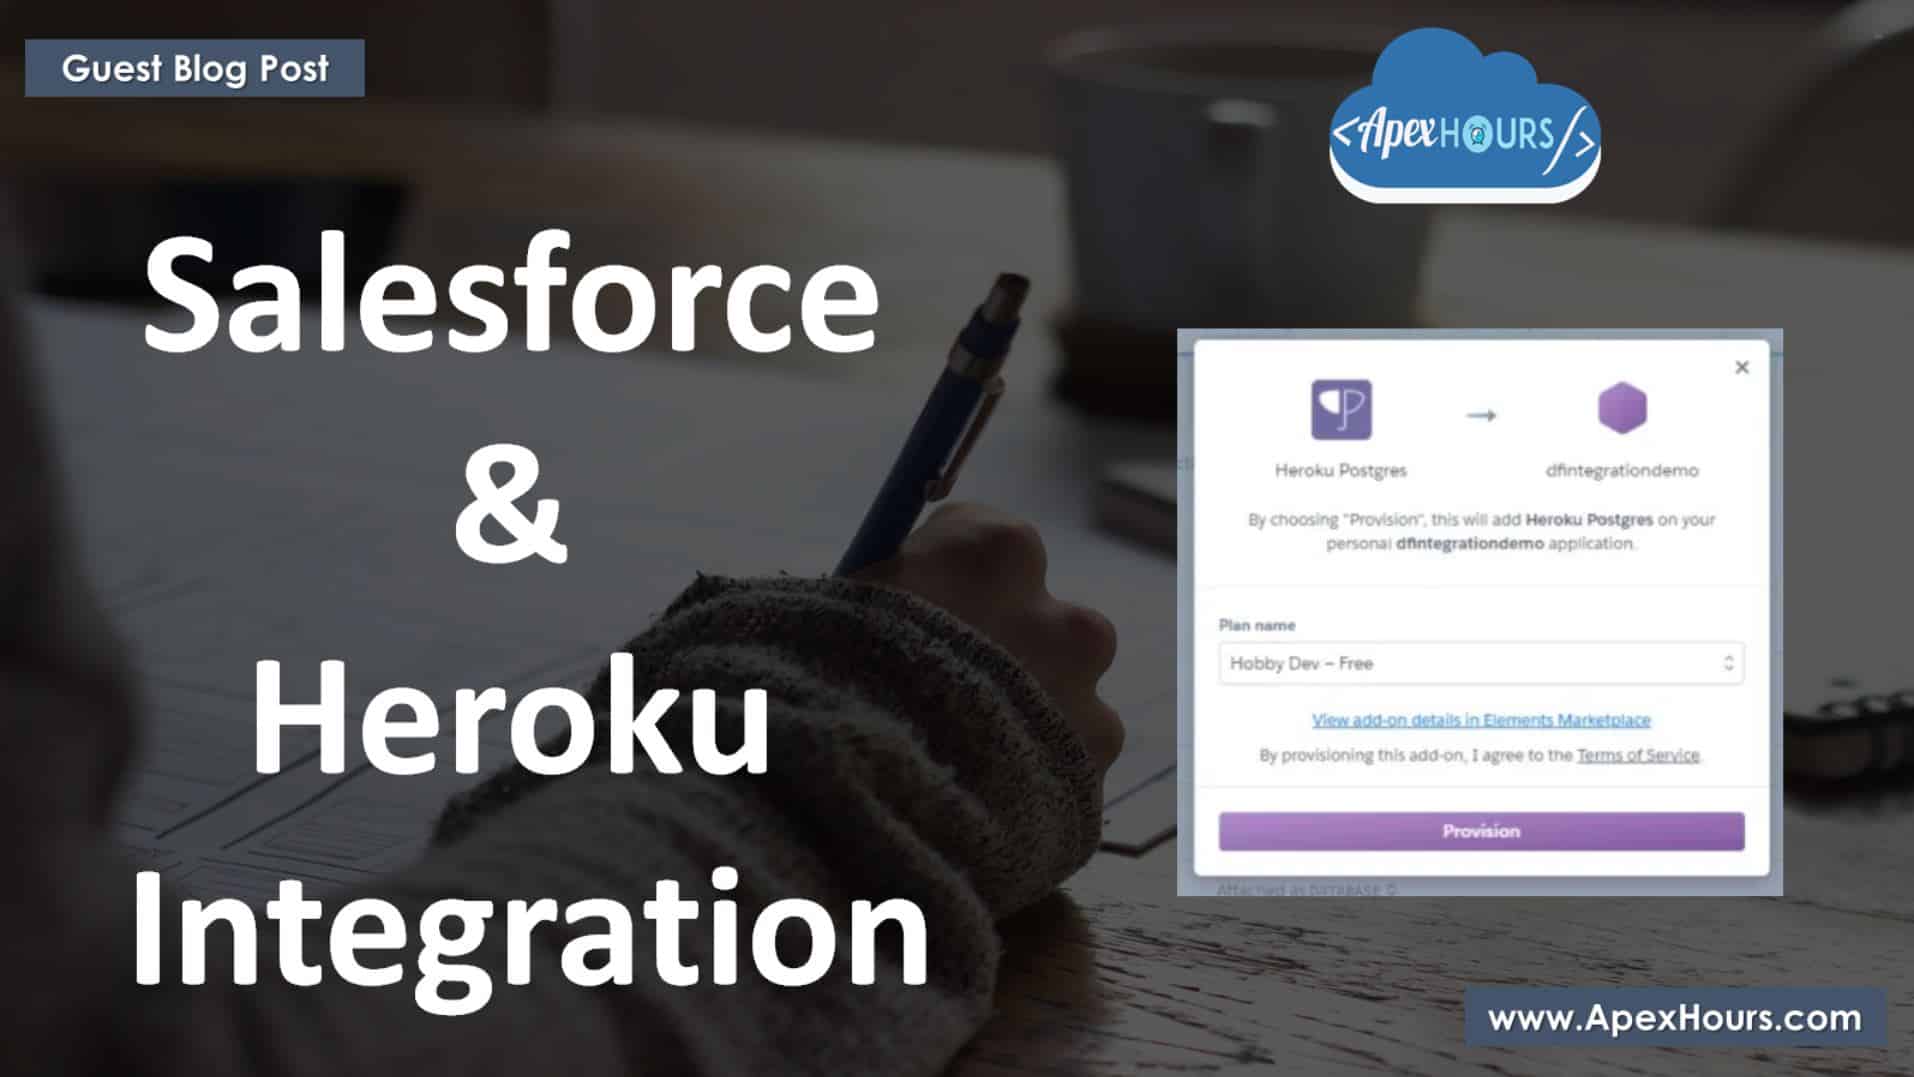
On the “Add ons” search box type “Heroku Postgres” and provision(add) the resource to your app. Choose the default “Hobby Dev Free” plan and click on provision. Similarly search for “Heroku Connect” and provision the resource.

Heroku connect
Heroku Connect makes it easy for you to build Heroku apps that share data with your Salesforce deployment. Using bi-directional synchronization between Salesforce and Heroku Postgres, Heroku Connect unifies the data in your Postgres database with the contacts, accounts and other custom objects in the Salesforce database.
After provisioning both the resources, click on the “Heroku Connect” add on which you just provisioned.

Setup Connection
It’s time that we establish a connection between our Salesforce org and our Heroku app.
After clicking on the Heroku Connect resource(which we just provisioned) you will be navigated to a page where we would need to set up our org connection. Click on the “Setup Connection” button.

We need not make any changes further, click on next. In our case we will be authorizing a Developer Edition org so we will choose production from the dropdown of “Environment” and then click on Authorize.

If you want to authorize a Sandbox/Org with a custom domain you can select and change the options from the environment list. API versions will be pre-populated as per Salesforce’s current Release. Clicking on the authorize button will navigate you to the login page for your Salesforce org. Enter the credentials for your Salesforce org and click on login.
Once you successfully authorize your org you will be able to see the connection status

Create Mapping
Now click on the mappings tab. And then click on the “Create Mapping” button.

This will initialize all your Salesforce Objects with your authorized org.
In our case we will be choosing the contact object..so search for “Contact” in the search box and click on the row. Next step for us would be to choose the fields that we want to be polled into our Heroku App’s database. We will be choosing the firstname, lastname, Mobile phone, phone and email fields.

Check the Accelerate Polling box on the top right. Any changes in Salesforce stream to Heroku in near real-time. Also Check the Write to Salesforce any updates to your database box and select the External_Id__c field. Now we’re syncing both ways from SF to our heroku app and Heroku app to SF!!

If you don’t have an external ID field in your contact, go ahead and create one. Finally click on the “Save” button on top.
This will start polling of data from the“Contact” object in Salesforce org to our Heroku app. Time to give our app a Spin!! Click on the launcher icon from top click on the dashboard option and navigate to the “Heroku Dashboard”.

Time for Testing: Open App
Click on your app name and then finally click on “Open App”.

This will open your Heroku app in the browser.

Type in a contact name matching with a one in your Salesforce org and then modify/update the phone number once you have filled the details click on the “Update phone number” button which will make changes to your contact record.
In my case I’ll be updating a contact’s phone number to a different one(refer images below):

After updating the phone number using the Heroku app, we can see the record detail changed to a new phone number.

Hooray! Don’t feel shy to pat yourself you just deployed your first heroku app, synchronized data from your Salesforce org to the Heroku app, Enabled bi-derictional Sync. and modified a record with just using a few clicks!!
Salesforce and Heroku Integration Video
I hope you have enjoyed reading, in our next blog we will dive deep into the technical capabilities of the Heroku platform and also discuss various design capabilities and solutions achievable using the powerful polyglot platform. I hope you enjoyed our Salesforce and Heroku Integration post
Till the next time Stay Safe and Happy Learning!! 🙂


Hi,
hi
Hi – Abhirup,
Thank you for sharing this hands-on / step-by-step ???
@Abhirup Mukherjee
Thanks @Jan Vibhlom!!
Hope you learnt something new from this!! ?